|
|
NLRM features
Read NLRM Settings
NLRM supports extracting application configuration settings for informational and troubleshooting purposes.
To read the NLRM settings, follow these steps,
Windows
- Open a command prompt as administrator
- Go to the location where NLRM is installed. The default location is C:\Autodesk\NLRM
- Run the following command to read the NLRM settings
nlrm_config.exe get-settings
Linux
- Go to the location where NLRM is installed. The default location is /opt/Autodesk/NLRM/
- Open a terminal and run the following command to read the NLRM settings
```
sudo ./nlrm_config get-settings
Submit usage data manually
For usage data collection and reporting, NLRM supports a manual mode for servers that cannot be allowed to connect to the internet. If the manual mode is enabled, license usage data gets collected locally on the primary license server machine. To transmit this data to Autodesk servers, the server/license administrator then exports the data on the primary license server machine using tools provided with NLRM, manually transfer the data to a secondary machine connected to the internet and use it to transmit the data to Autodesk.
Follow these instructions on how to collect data from the primary license server machine (export usage data) and send it to Autodesk from a secondary machine (transmit usage data).
Windows
- Open a command prompt as administrator
- Go to the location where NLRM is installed. The default location is C:\Autodesk\NLRM
- Run the following command to export usage data
nlrm_config.exe export-usage -o {the directory path where usage data wants export}
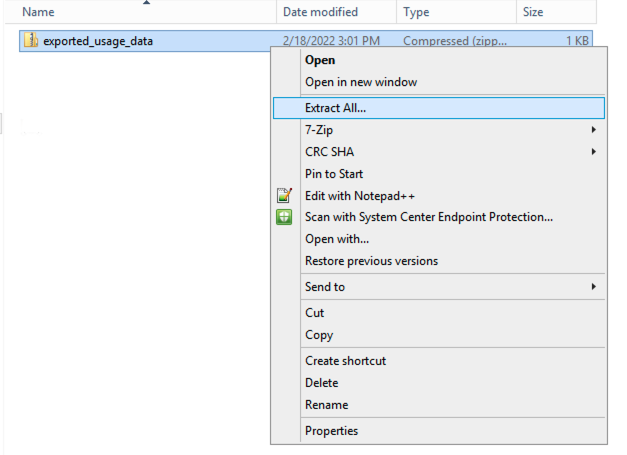
- Zip the usage data
We recommend using the default Windows compress to create a zip file of exported usage data to copy the exported usage data to the secondary machine.
Zip:

Unzip:
- Transmit the usage data
In order to transmit the data, transfer the data to a secondary machine which can connect to Autodesk server over the internet.
- Install NLRM on the secondary machine
- Check for connectivity with Autodesk by Testing your connection.
- Open a command prompt as administrator
- Go to the location where NLRM is installed. The default location is C:\Autodesk\NLRM
- Run the following command to transmit usage data from the export directory
collection_dispatcher.exe send --source {the directory path where usage data is exported}
Notes:
- The collection_dispatcher will create logs as
%PROGRAMDATA%\Autodesk\NLRM\4.17\logs\collection_dispatcher_<export_folder_name>_<{1...12}>.log.
- The export directory will be deleted after the transmission is completed successfully.
Linux
- Go to the location where NLRM is installed. The default location is /opt/Autodesk/NLRM/
- Open a terminal and run the following command to export usage data
sudo ./nlrm_config export-usage -o {the directory path where usage data wants export}
- Zip the usage data
Use the tar command as follows
Zip:
tar -zcvf file-name.tar.gz /path/to/export dir/
Unzip:
tar -xzvf path/to/file-name.tar.gz
- Transmit the usage data
In order to transmit the data, transfer the data to a secondary machine which can connect to Autodesk server over the internet.
- Install NLRM on secondary machine
- Check for connectivity with Autodesk by Testing your connection
- Go to the location where NLRM is installed. The default location is /opt/Autodesk/NLRM/.
- Open a terminal and run the following command to transmit usage data
sudo ./collection_dispatcher send --source {the directory path where usage data is exported}
Notes:
- The collection_dispatcher will create logs as
/var/opt/Autodesk/NLRM/<nlrm_current_version>/logs/collection_dispatcher_<export_folder_name>_<{1...12}>.log.
- The export directory will be deleted after the transmission is completed successfully.
Export PII mapping
NLRM supports exporting masked PII data and clear format data mapping in a file on an on-demand basis. Using the nlrm_config tool provided by NLRM, a file can be extracted containing the hostname and username mappings.
The mapping file contains data in the following format:
- all hostname mappings, followed by
- all username mappings
| unmasked observed data |
masked recorded data |
| ECS-1234567 |
39403C3BC58C4917385215B2481513F9 |
| ECS-1111111 |
66339C0270E8DD382A891434A7CC46B1 |
| TESTSERVER |
8A4B97982D9E6FD4780788902AE310A5 |
| johndoeadmin |
3B96D896BE2D9D48D5E01A7BB8AA138F |
| 你好 |
IQHOBBJ22HUZ7FRLMPSFT34ZFV6CCFZC |
| 你好new |
3LOO4OI6TYL7Z3GOE25ZLNXDNBIJIGHS |
This mapping file with masked and unmasked values is NOT created by default. For obtaining the mapping file, please follow these steps:
Windows
Linux
Note:
- This feature supports three file formats: {filename}.csv , {filename}.tsv, and {filename}.json.
- Please use any modern text editor such as Wordpad, Notepad++, Textpad, Excel to view the exported file if the contents of the exported file are not rendered appropriately in notepad.
- Do not use NLRM directory to export PII mapping data
Parent Page: NLRM Administration Guide
|